What You're Actually Doing
Over time, every AC system slowly loses refrigerant through microscopic permeation in hoses, seals, and o-rings - even a perfectly healthy system loses a small amount per year. An aging Gen 2 in a hot climate will eventually lose enough that the system can no longer reach cold temperatures. Adding refrigerant restores pressure and cooling capacity.
This is a temporary fix if there's a leak. If the recharge holds for a year, the leak is minor - possibly normal permeation plus aging. If it holds for only a few months, there's a meaningful leak somewhere. If it stops working within weeks, the leak is significant and getting worse. The AC system is telling you something each time.
The Gen 2 Prius AC Is Different from Most Cars
On a conventional car, the AC compressor is driven by a belt off the engine. On the Gen 2 Prius, the compressor is electric - it runs off the hybrid system and doesn't need the engine running at all. This has a few practical effects:
- The car must be in Ready mode (dash lit, ready to drive) for the compressor to run during a recharge - not just accessory mode
- The AC can run while sitting at a red light with the engine off - this is normal Prius behavior
- The electric compressor requires Toyota ND-OIL 11 (part 00289-AC897) - a POE ester oil, not PAG. Standard PAG oil is electrically conductive and will damage the compressor windings. If the system ever needs a full evacuation and recharge at a shop, confirm they use ND-OIL 11 specifically
What to Buy
Use refrigerant-only R-134a kits - no oil charge, no stop-leak. Common brands at Walmart, AutoZone, and O'Reilly:
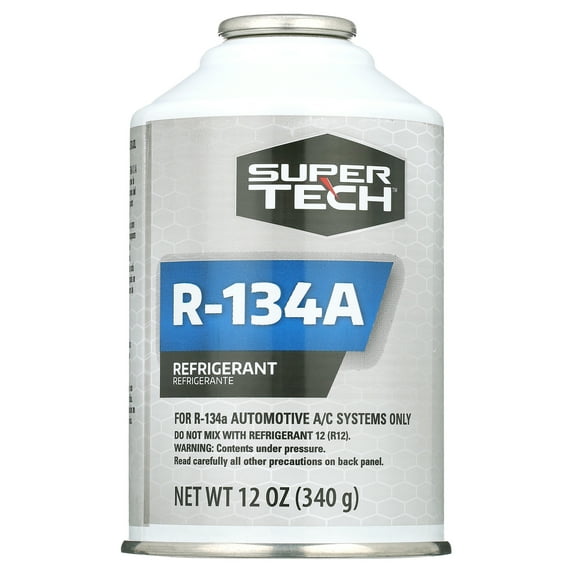
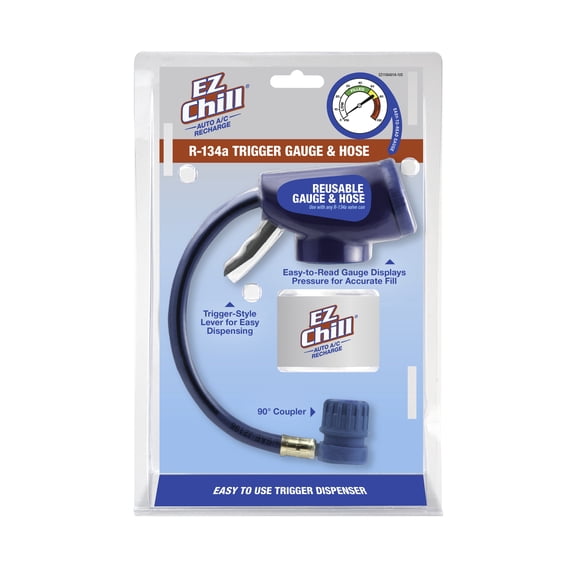
- Super Tech R-134a Refrigerant, 12 oz - $13 at Walmart, refrigerant-only. This is the exact can used for the periodic top-offs described on this page. You'll also need a gauge and hose - the EZ Chill reusable gauge and hose (~$17) works with any R-134a can and is reusable across multiple recharges.
- AC Pro R-134a (plain blue can, refrigerant-only) - most widely available, comes with a gauge and hose. Confirm you are buying the refrigerant-only version, not "AC Pro with Oil Charge" or the Super Seal stop-leak variant.
- Arctic Freeze R-134a - refrigerant-only version is fine; avoid any variant labeled with oil or conditioner
- EZ Chill R-134a - same guidance: refrigerant-only
The Low-Side Port - The Only Port You Use
Consumer refrigerant cans connect to the low-side service port only. This is intentional and built into the design:
- The low-side port has a blue/gray cap marked L and is on the larger diameter aluminum line (the suction line returning from the evaporator)
- The high-side port is marked H on the cap (color varies - often gray on Gen 2) and uses a different, smaller fitting. Consumer cans physically cannot connect to it.
On the Gen 2 Prius, the low-side service port is in the engine bay toward the middle. Look for the aluminum AC lines - the port with the blue/gray cap marked L on the larger line is where you connect.
Video Guides
Step-by-Step
-
Check the gauge before adding anything. Connect the hose to the low-side port (engine off, car in Park) and read the pressure. A warm system sitting overnight should show 70-100 psi. If the gauge reads zero or very low, the system is significantly depleted and refrigerant is needed. If the gauge already reads in the normal range, the problem may not be low refrigerant. The hose plastic coupler has a spring-loaded collar - pull it back, push the coupler onto the port, then release to lock it in. It may take a few tries to seat it, but it should lock and not pull out easily. Press trigger a bit to flush moisture from hose.
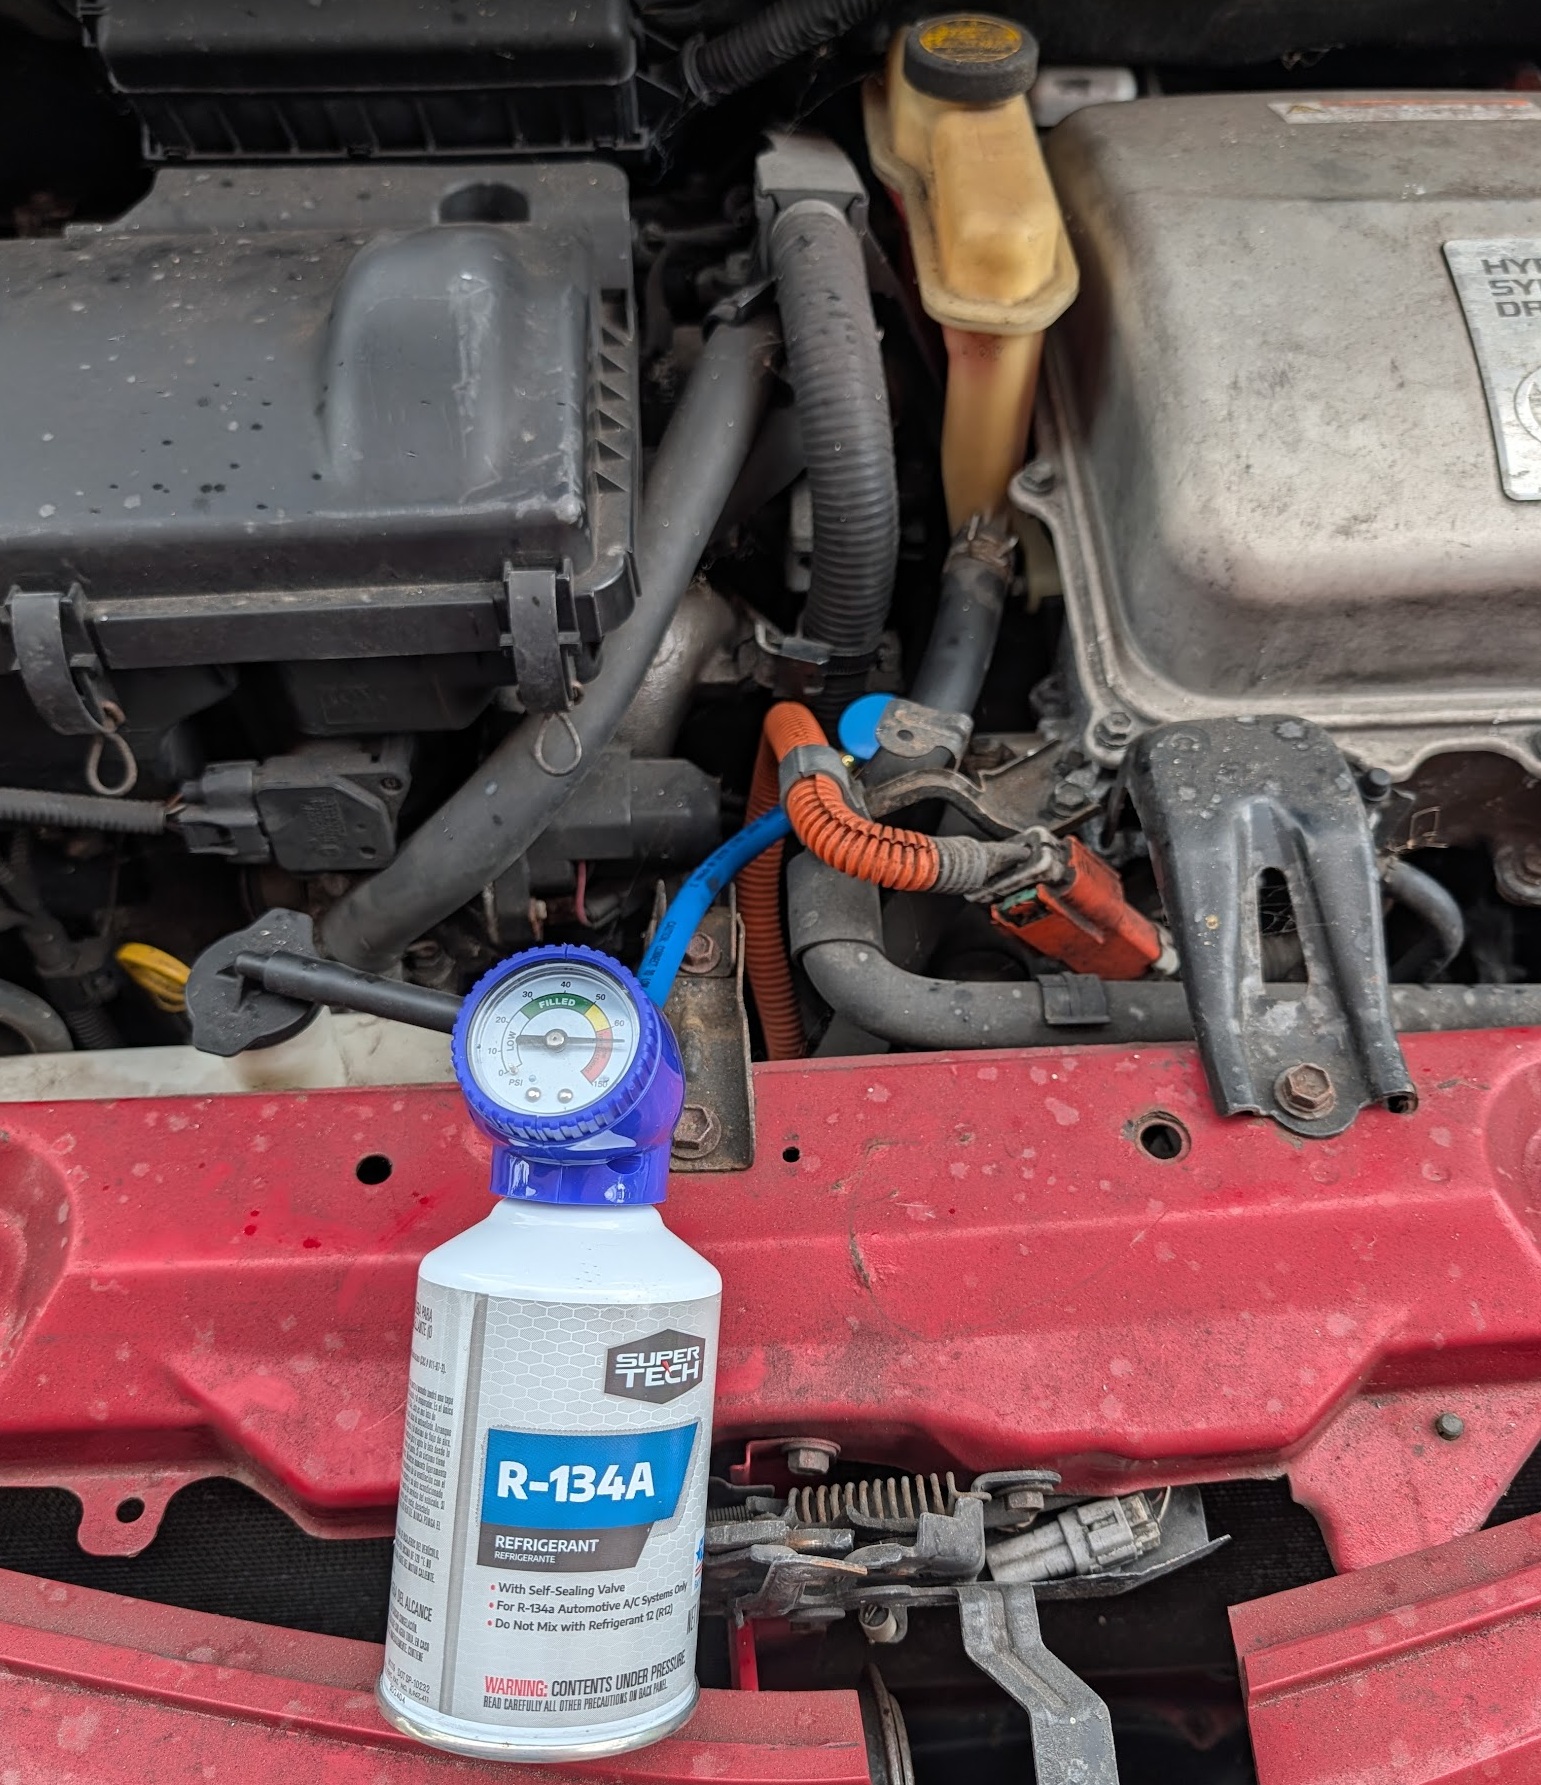
Can connect when car is off for practice - engine off, car in Park - Start the car and turn on the AC. Set the fan to maximum, temperature to coldest setting. Open all windows down to easily access the vent temperature from outside. The car must be in Ready mode for the electric compressor to run. You can choose to connect the gauge before turning on the car since engine components can be hot and connecting the low-side port can be tricky and needs practice.
-
Connect the can to the hose, then purge the hose before connecting to the port. Screw or snap the can onto the gauge hose. Before connecting to the car, hover the coupler over the low-side port and press the trigger briefly to push a small burst of refrigerant through the hose. This purges the air and moisture inside it. Then quickly press the coupler down onto the port to connect. Air and moisture pushed into the system react with refrigerant and cause long-term damage to the compressor.
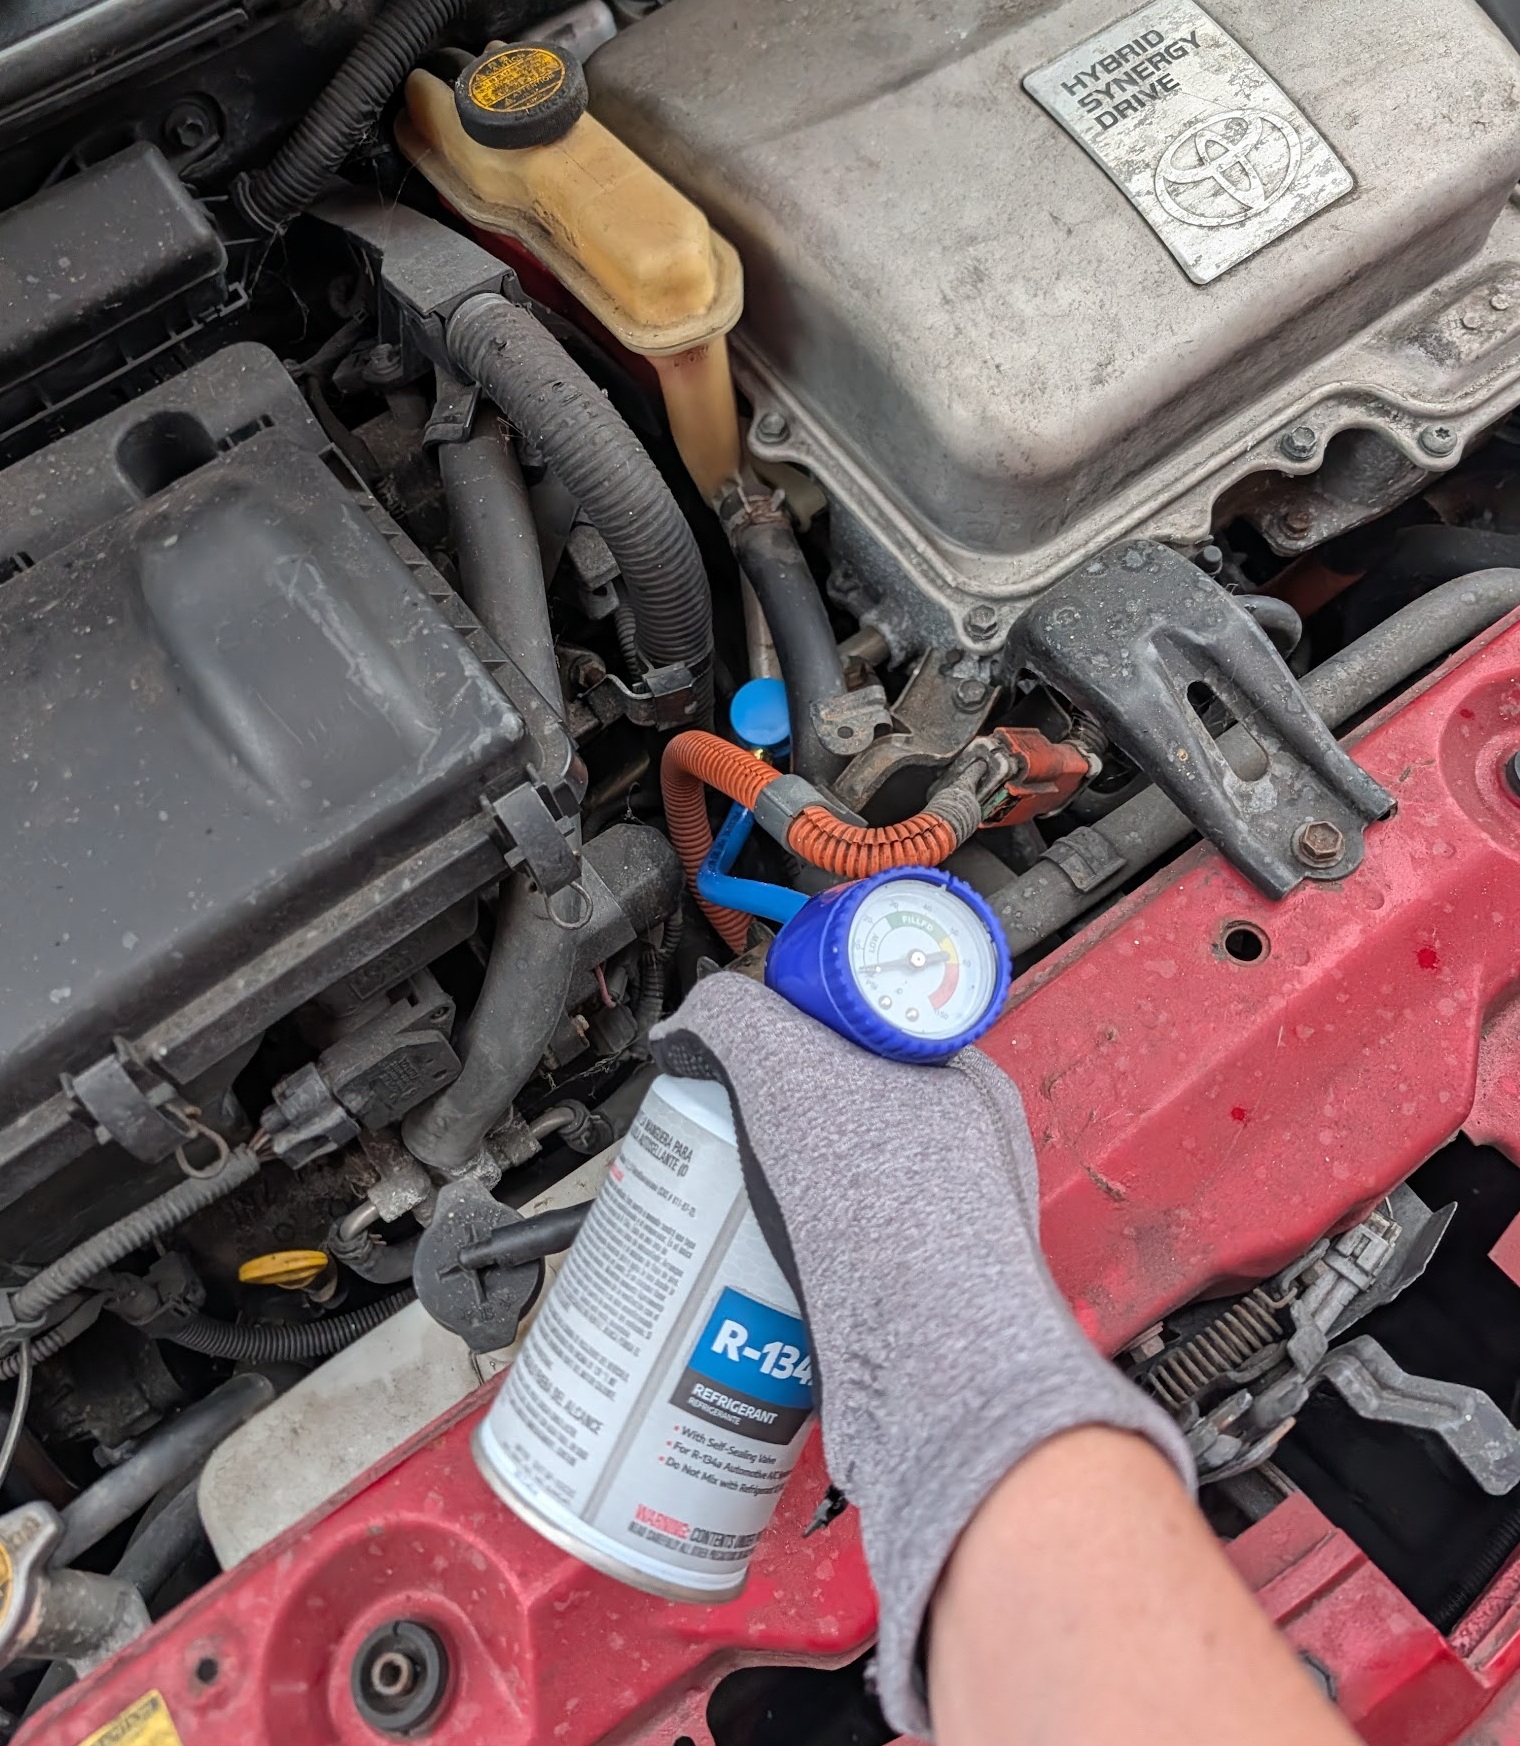
Hose connected, engine on - gauge reads very low pressure -
Add refrigerant slowly. Hold the can upright, rotate the can 90 degrees then back a few times, and then release in short bursts, watching the gauge. The target is the green zone on the gauge - approximately 25-45 psi on the low side (varies with ambient temperature - hotter days mean higher normal pressure). Stop before reaching yellow or red. Stop and check vent temperature periodically. The Gen 2 Prius system holds approximately 450g (16 oz) total - a single 12 oz can is a typical top-off amount for a system that's low but not empty. Tip: weigh the can on a kitchen scale before and after - the gram difference is exactly how much the car needed, and tracking it year over year shows whether the leak is getting worse.
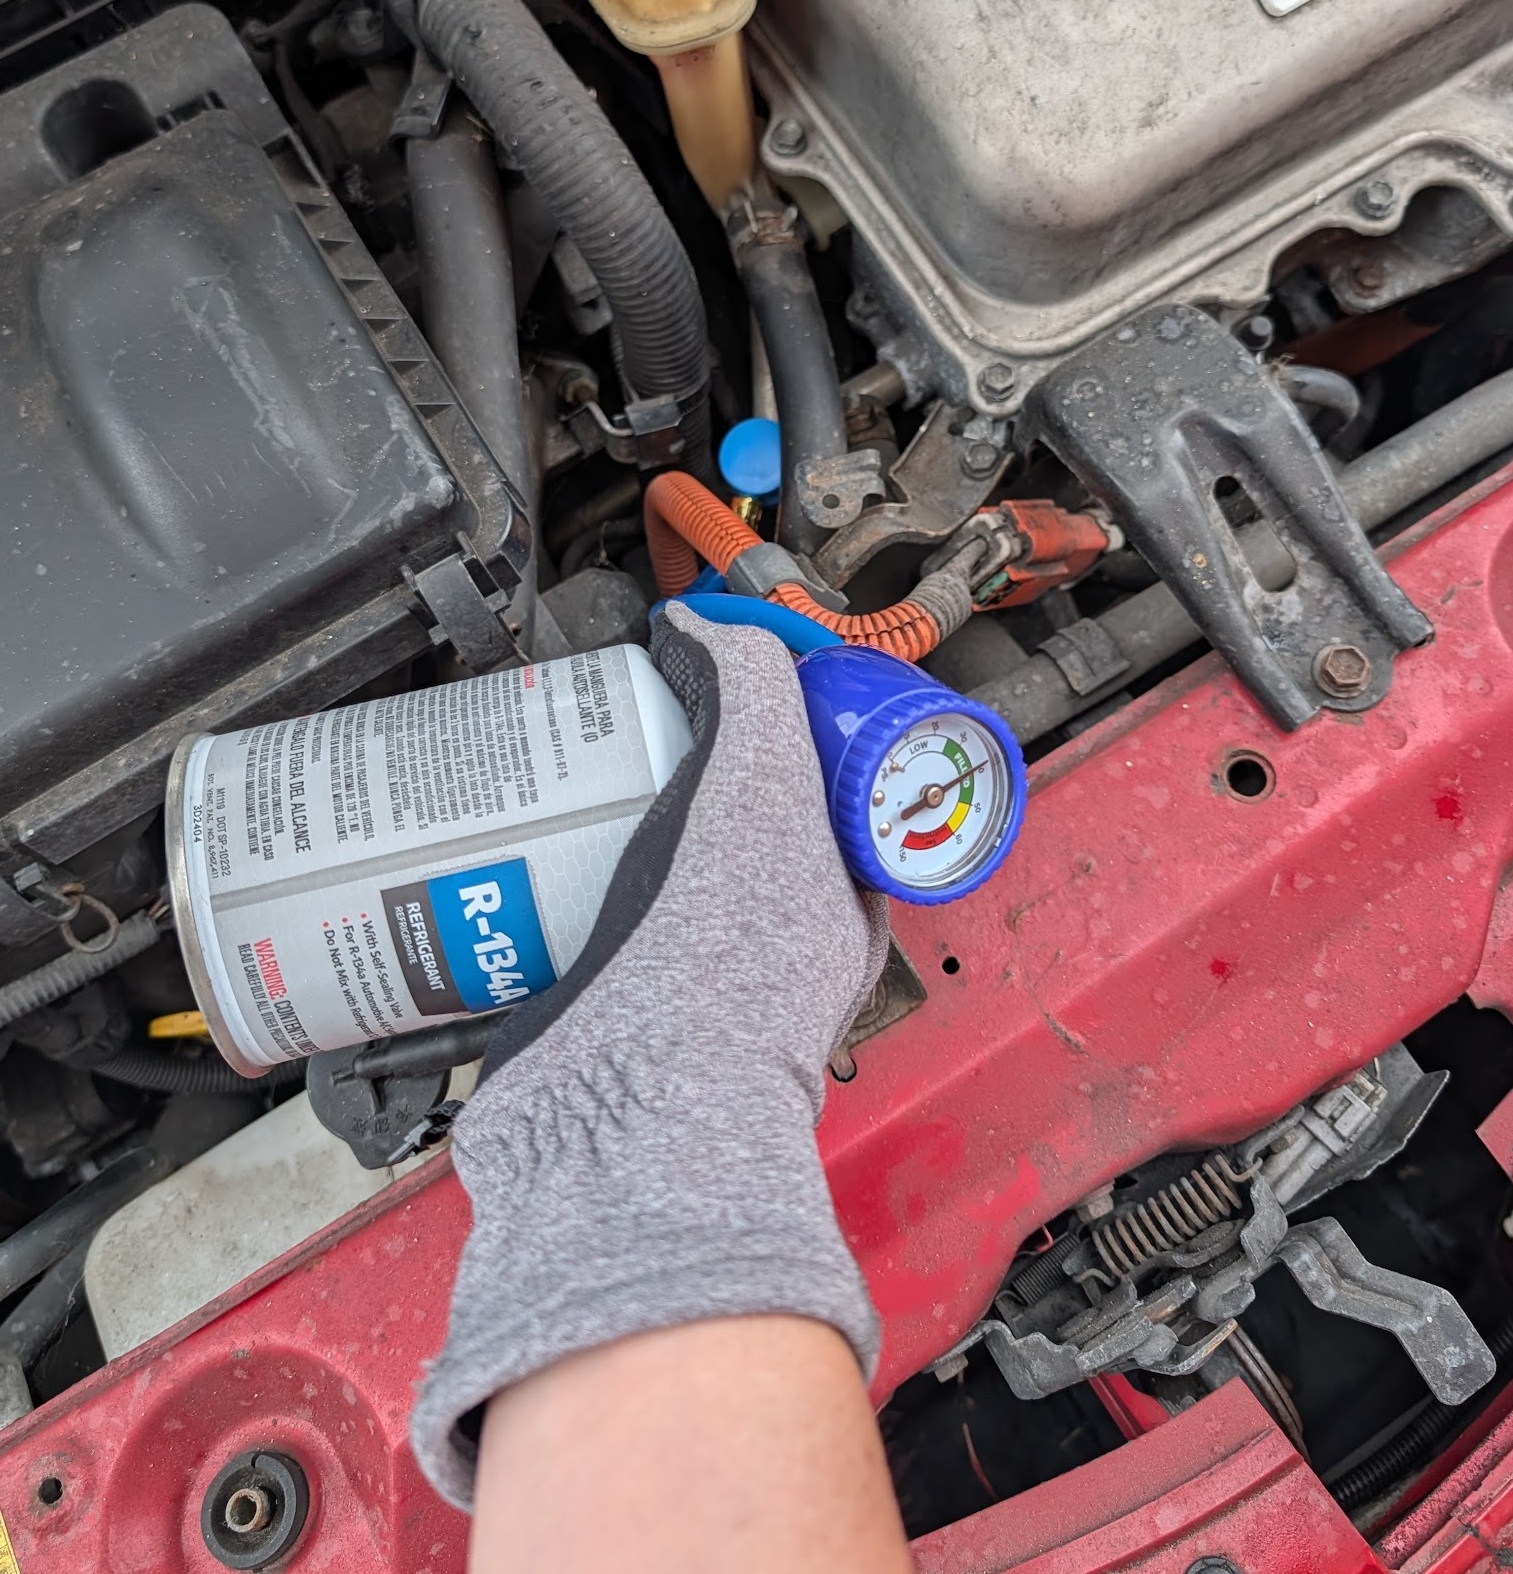
Can rotated 90 degrees while dispensing -
Do not overfill. Too much refrigerant is as bad as too little - it can damage the compressor. Add a little, check the gauge, check the vent temperature, then decide whether to add more. On average, the car takes about 300g to reach green gauge level.
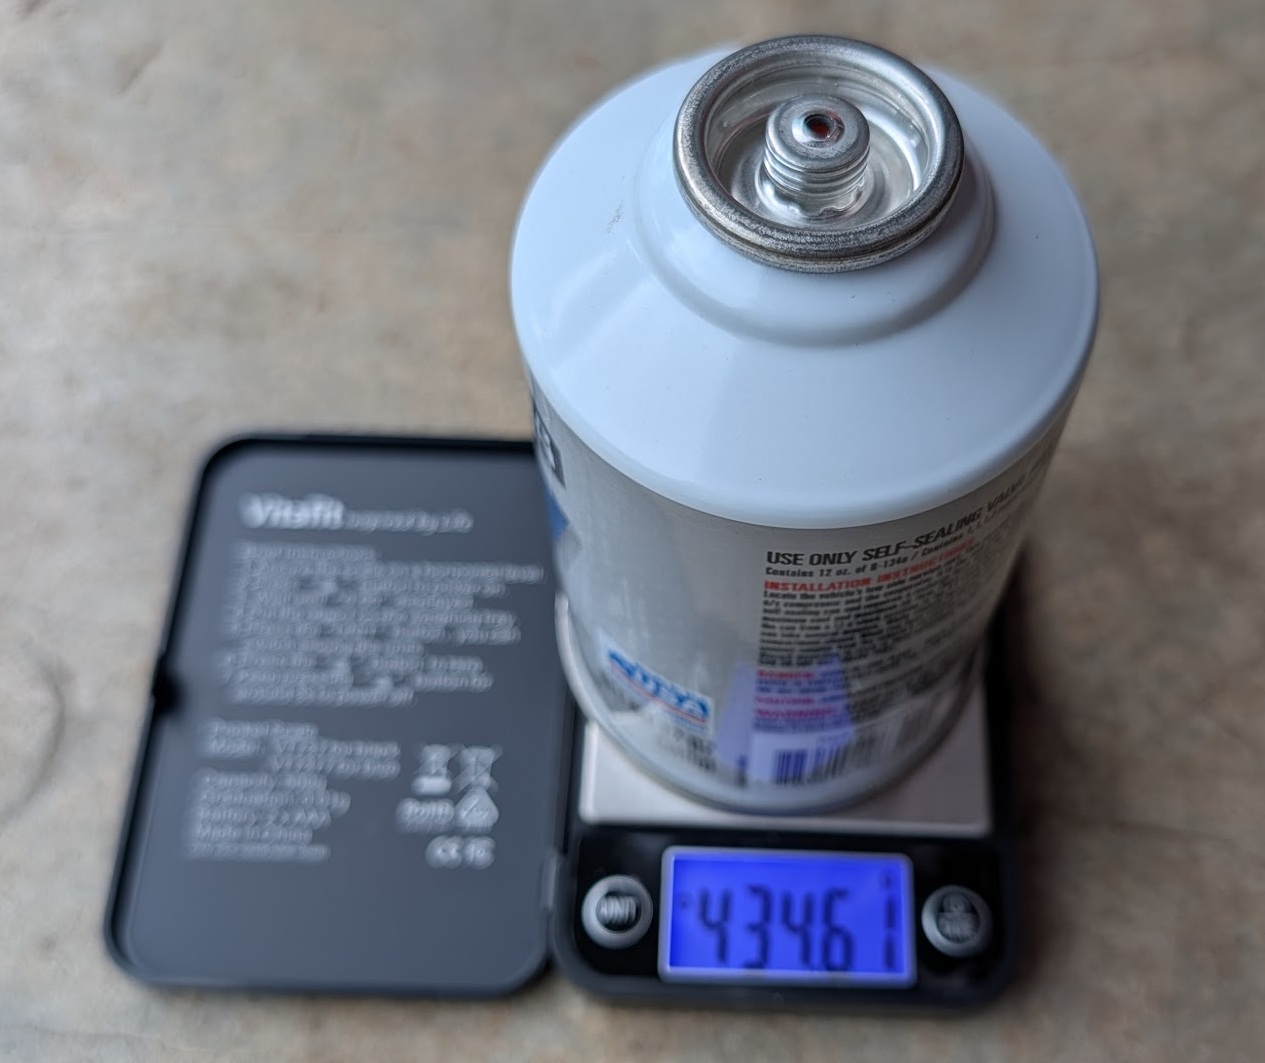
Can weight before: 434g. Weigh again after to see exactly how much was added. - Check vent temperature. On a hot Florida day, a properly charged system should blow 45-55°F from the center vents with the car in Ready mode. A cheap infrared thermometer or meat thermometer works for this check.
- Disconnect and replace the port cap. Once pressure is in range and air is cold, disconnect the hose and screw the blue/gray cap back on the low-side port.
What the Results Tell You
| How Long the Recharge Lasts | What It Means |
|---|---|
| One full season or longer | Minor leak or normal permeation - more typical after a shop evacuation/recharge than a DIY top-off. Recharge and monitor. |
| A few months | Meaningful leak somewhere in the system. A UV dye leak test by a shop will locate it. |
| A few weeks | Significant leak. The recharge is masking the real problem. Leak test needed. |
| Days or immediately | Major failure - compressor seal, evaporator, or condenser. Professional diagnosis required. |
The Likely Culprit: Evaporator Core
On a Gen 2 Prius with 10-15+ years in a hot climate, the most common source of a slow refrigerant leak is the evaporator core - the heat exchanger buried inside the dashboard that actually cools the air. Evaporator leaks are nearly impossible to DIY because the entire dashboard must come out to reach it. Professional replacement typically runs $1,500-$2,500+ due to labor.
Other leak points - condenser (in front of the radiator), o-rings at line connections, compressor shaft seal - are cheaper to fix because they're accessible. A UV dye leak test or electronic refrigerant sniffer can tell a shop exactly where the leak is before committing to a repair cost.
Notes from the Field
After about 13 years, the AC stopped blowing cold during South Florida summers - which is not a minor inconvenience. A consumer R-134a can from Walmart brought it back immediately. The first recharge held for almost a full year. The next one lasted a few months. By the time it was lasting only a few weeks, it was clear the leak was getting progressively worse.
The evaporator is the suspected source - a known aging failure point on this generation. The shop quoted over $2,000 for the repair, which at the car's mileage didn't make financial sense. Periodic recharging became the practical solution: $20 every few months to keep the AC working vs. a repair that costs more than the car's market value.